How do I attach my clasp?Updated 3 years ago
Now that you have your new Silicone Clasp band you may be wondering how to size it to the prefect fit. Well, we've got you covered. Watch this incredibly informative and entertaining video, or use the step by step instructions below.
Step One: The band and clasp will arrive to you separated as shown in the image below. This photo is showing the underside of the clasp.

Step Two: You will need to flip open part of the clasp - this allows the band to slide through the clasp.


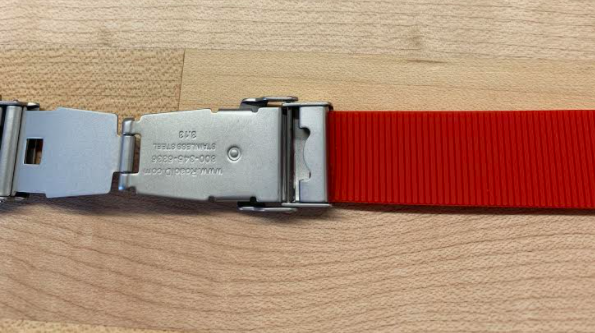
Step Three: Once this part of the clasp has been flipped open, you can slide the band through the opening. The band will not slide all the way through, it will only slide a small amount (as shown in in the image with red band).

Step Four: The part of clasp that was flipped open can now be clamped shut - it is best to try and line the "teeth" on the clasp into the grove on the band. The image below shows the finish product.
Step Five: When sizing your band to your desired fit, be sure to cut small sections at a time so you don't cut too much.
If you continue to have any trouble, please reach out to our customer service team at [email protected].